How to automate a simple form testing with data files using Blue Prism?
Robotic Process Automation (RPA) is very popular in the software testing world. RPA, software robots used to automate repetitive and time consuming tasks including data collection, transfer, manipulation and process automation. Its use cases vary from web scraping of website data, order processing, claims processing, paper forms data filing and more.
Many RPA vendors are available to perform AI tasks to save time and reduce errors. The top trending tools in today’s market are Automation Anywhere, Blue Prism, UIPath and Pegasystems.
As a software tester, we are required to create these mini automation tasks at all times, especially submitting form data from excel data files. We are learning how to use Blue Prism as our RPA tool for a simple use case of reading data from excel input files, filling out a contact us form and validating the data submitted. This example can be used in multiple scenarios like:
Blue Prism is one of the tools which comes with the visual designer where drag and drop controls are easily placed for defining the process. This tool can be used to define business processes for AI and machine learning for any enterprises. It is a paid tool with 1 month free trial. Trial version can be used for the following testing.
In the following, we are going to see the easiest way to do an automated data entry in the Application Under Test (AUT) form by creating a business object in Blue Prism. We can create a simple excel data file for contact us form which can be used for reading values automatically and submitting into it by the robot script.
The following are prerequisites to accomplish the above
Creating a Robotic Process Automation tests includes the following steps
- Install Microsoft SQL server - download
- Install Blue Prism - download
- Configure Database connection to Blue Prism and Activate license - follow video
- Create a new business object for Contact us form
- Configure the Application Modeller
- Create the collections stage in object studio
- Create excel stage in object studio
- Spying the contact us form and Run Object Studio
1. Create a new business object in Blue Prism
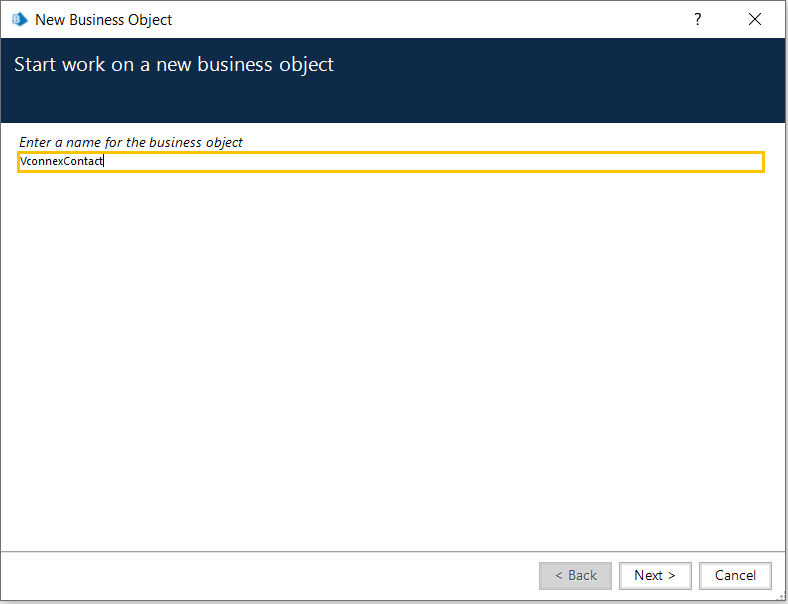
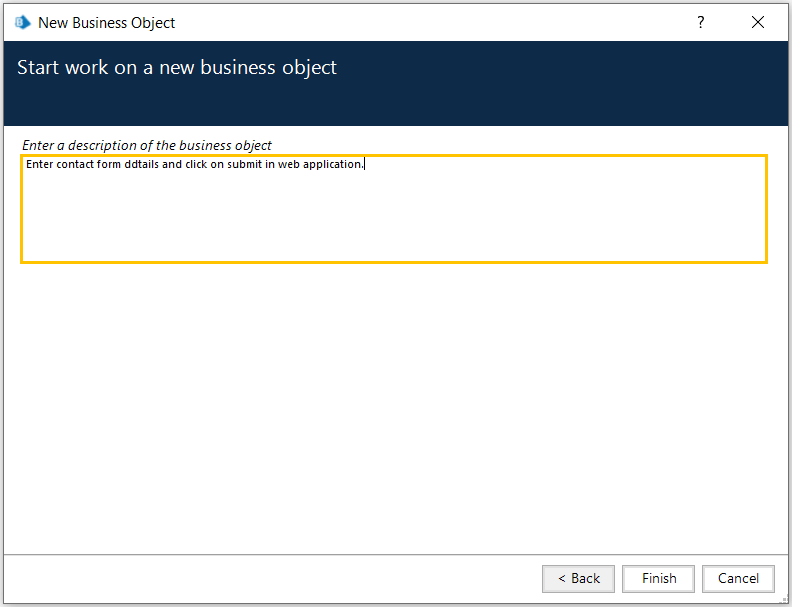
After creating an object, double click on object name, object studio window opens.
It opens 3 pages (Initialize, Clean Up, Action 1) by default.
2. Configure the Application Modeller
Click on Application Modeller in Object Studio to open an Application Modeller Wizard.
Follow the steps below:3. Create the collections stage in Object Studio
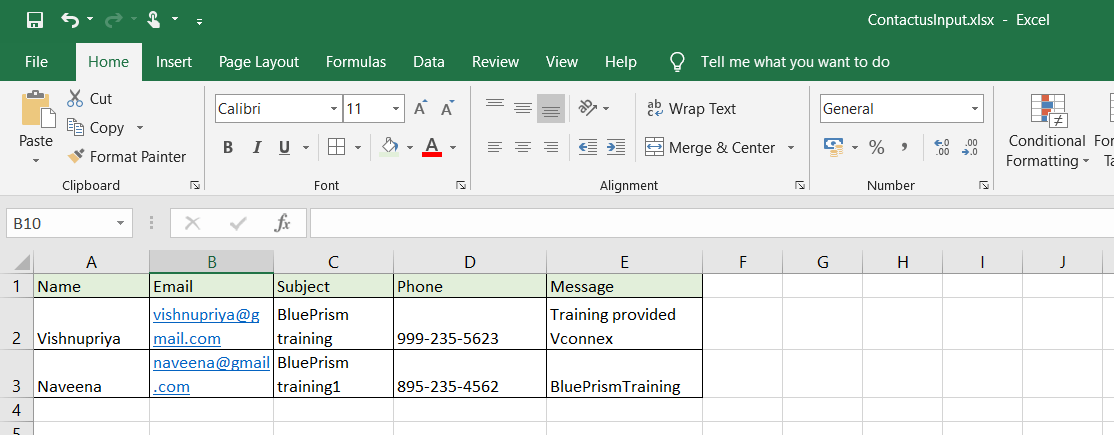
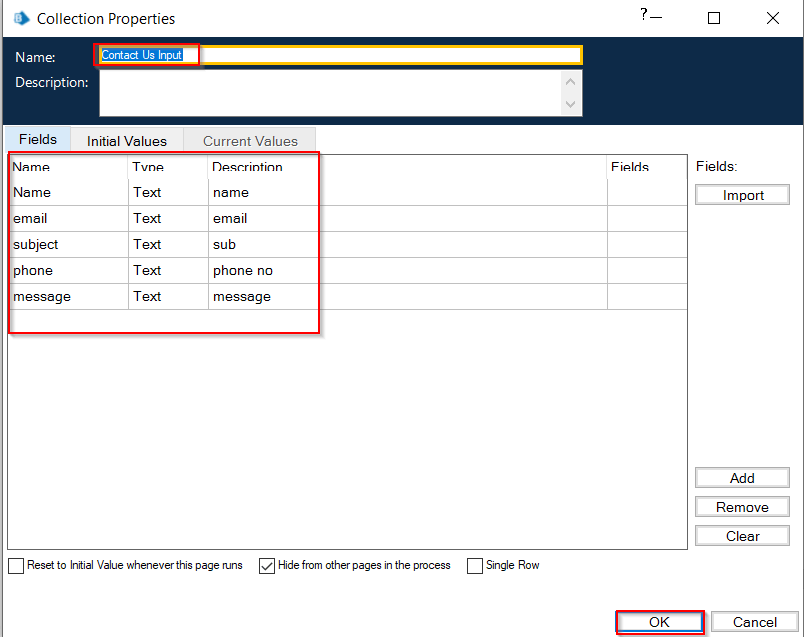
4. Create excel stage in Object Studio
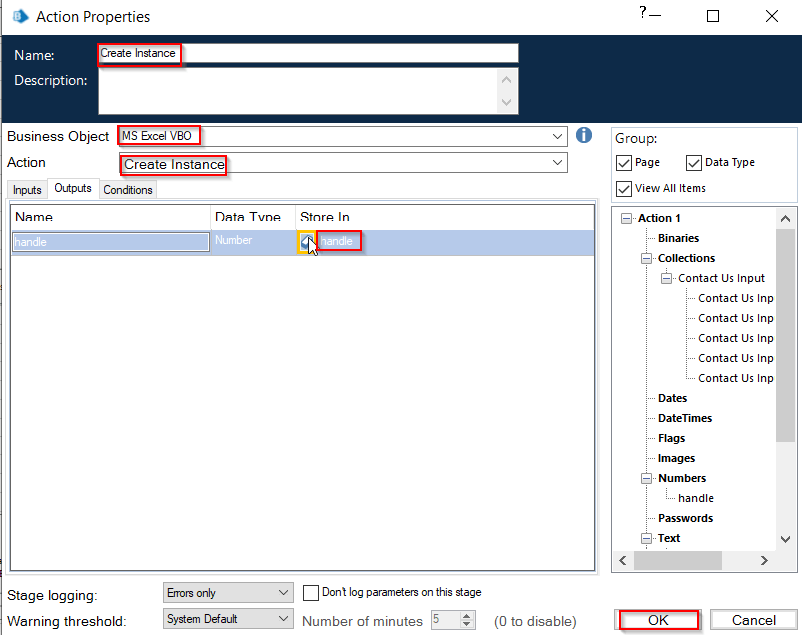
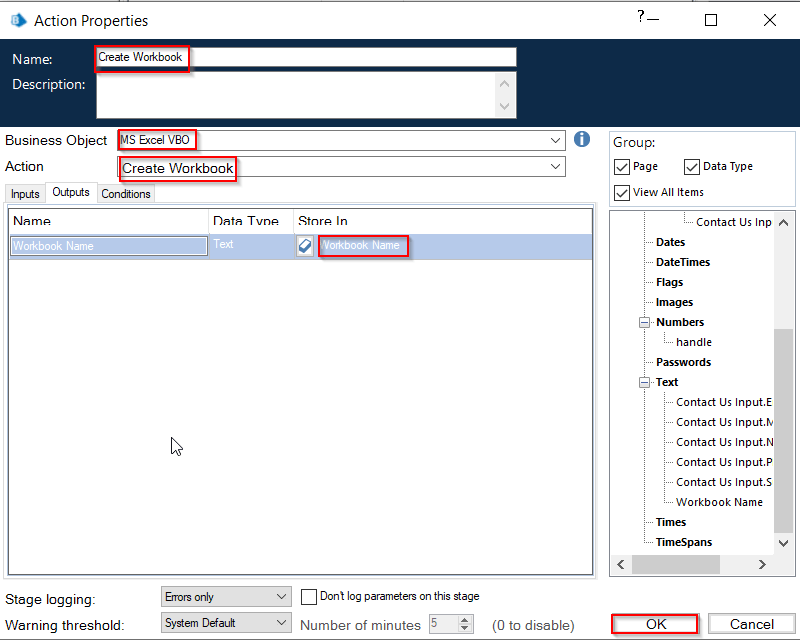
-
- Action 3 stage, click 'Inputs' tab, give expression [handle] and excel path, click 'Outputs' tab, click 'Store In' Icon, it automatically takes 'Workbook Name' data item.
- Action 4 stage, click 'Outputs' tab, below 'Store In' column, drag and drop collection name (Contact Us Input).
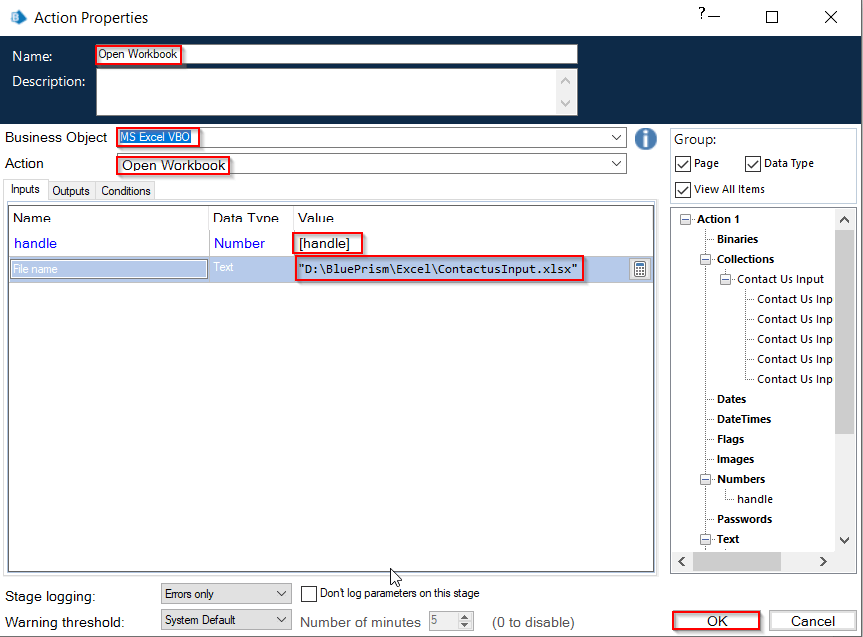
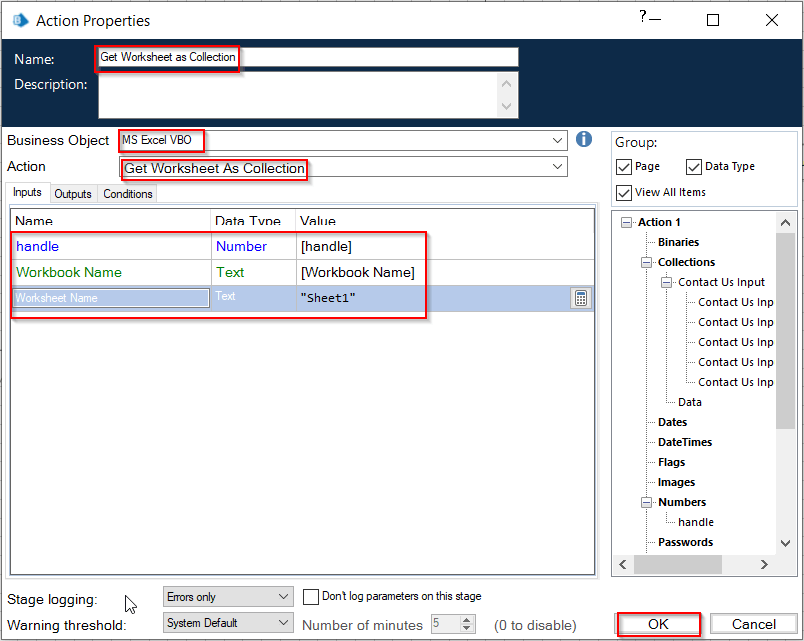
-
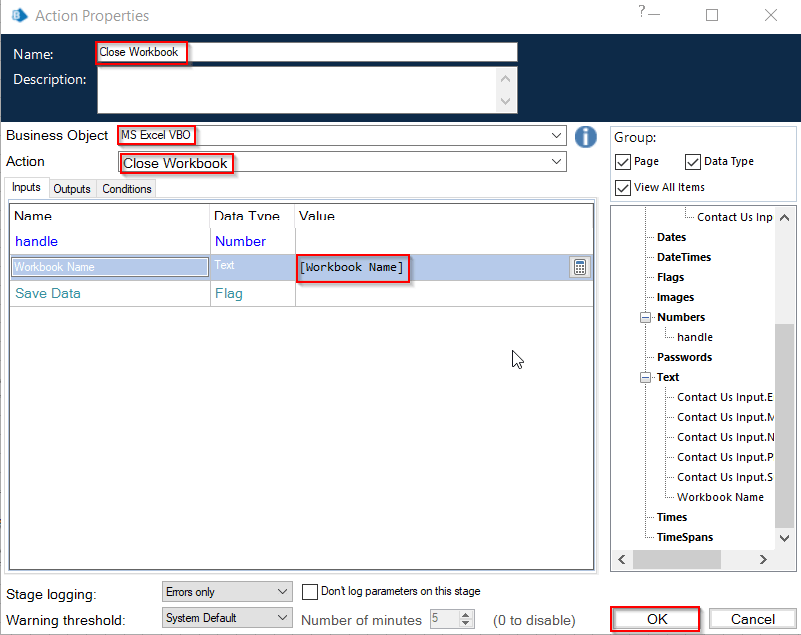
- Action 5 stage, enter inputs as 'workbook Name'.
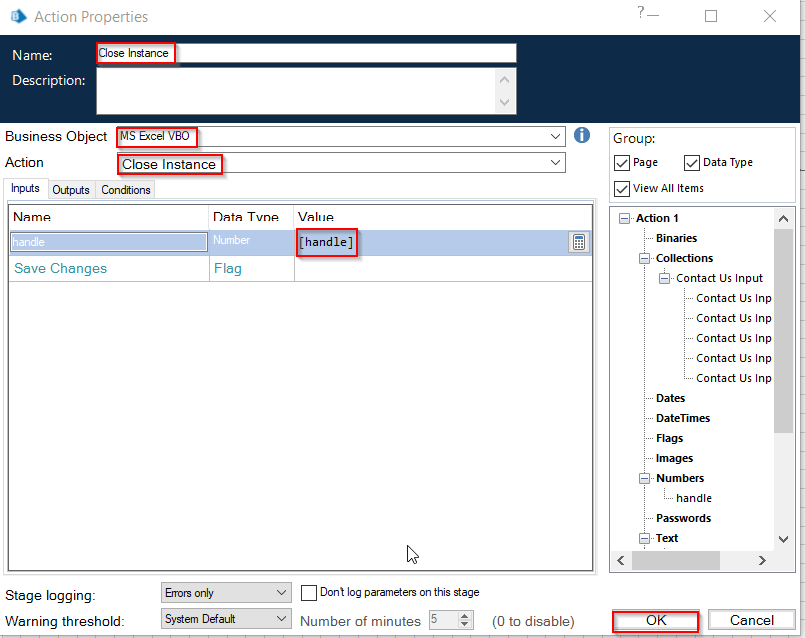
- Action 6 stage, inputs value given as [handle].
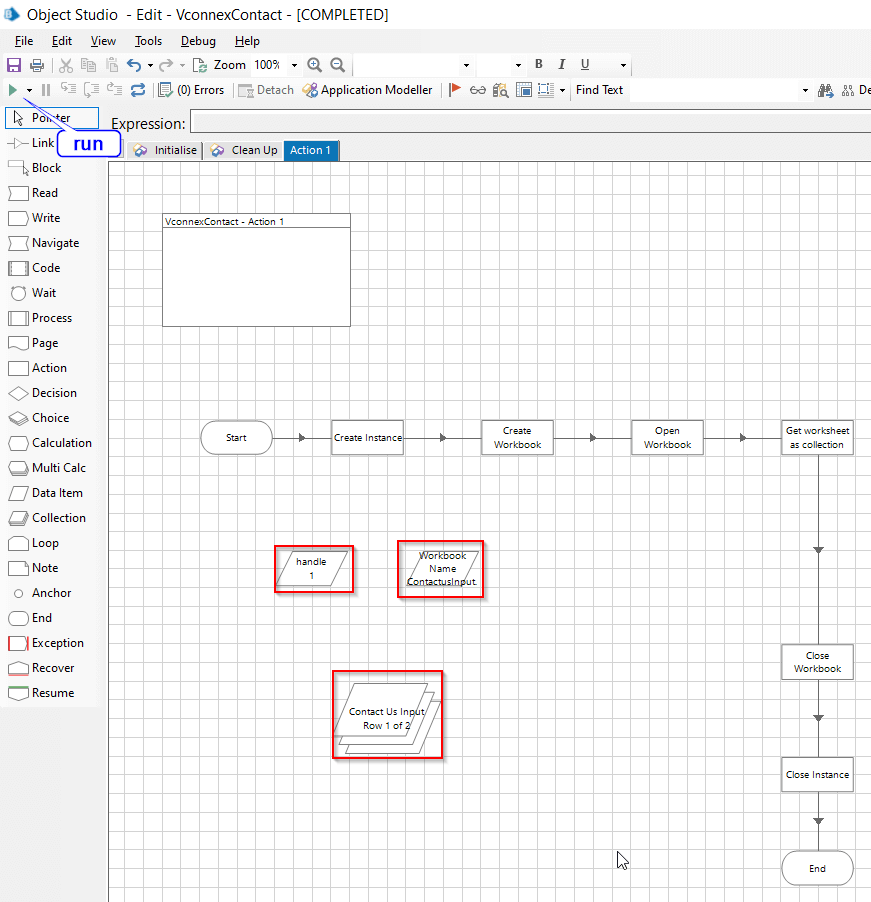
Now, link all the stages and run this project. The sample output is shown in the screenshot below.
5. Spying the contact us form and Run Object Studio
Now, link all the stages and run this project. The sample output is shown in the screenshot below.
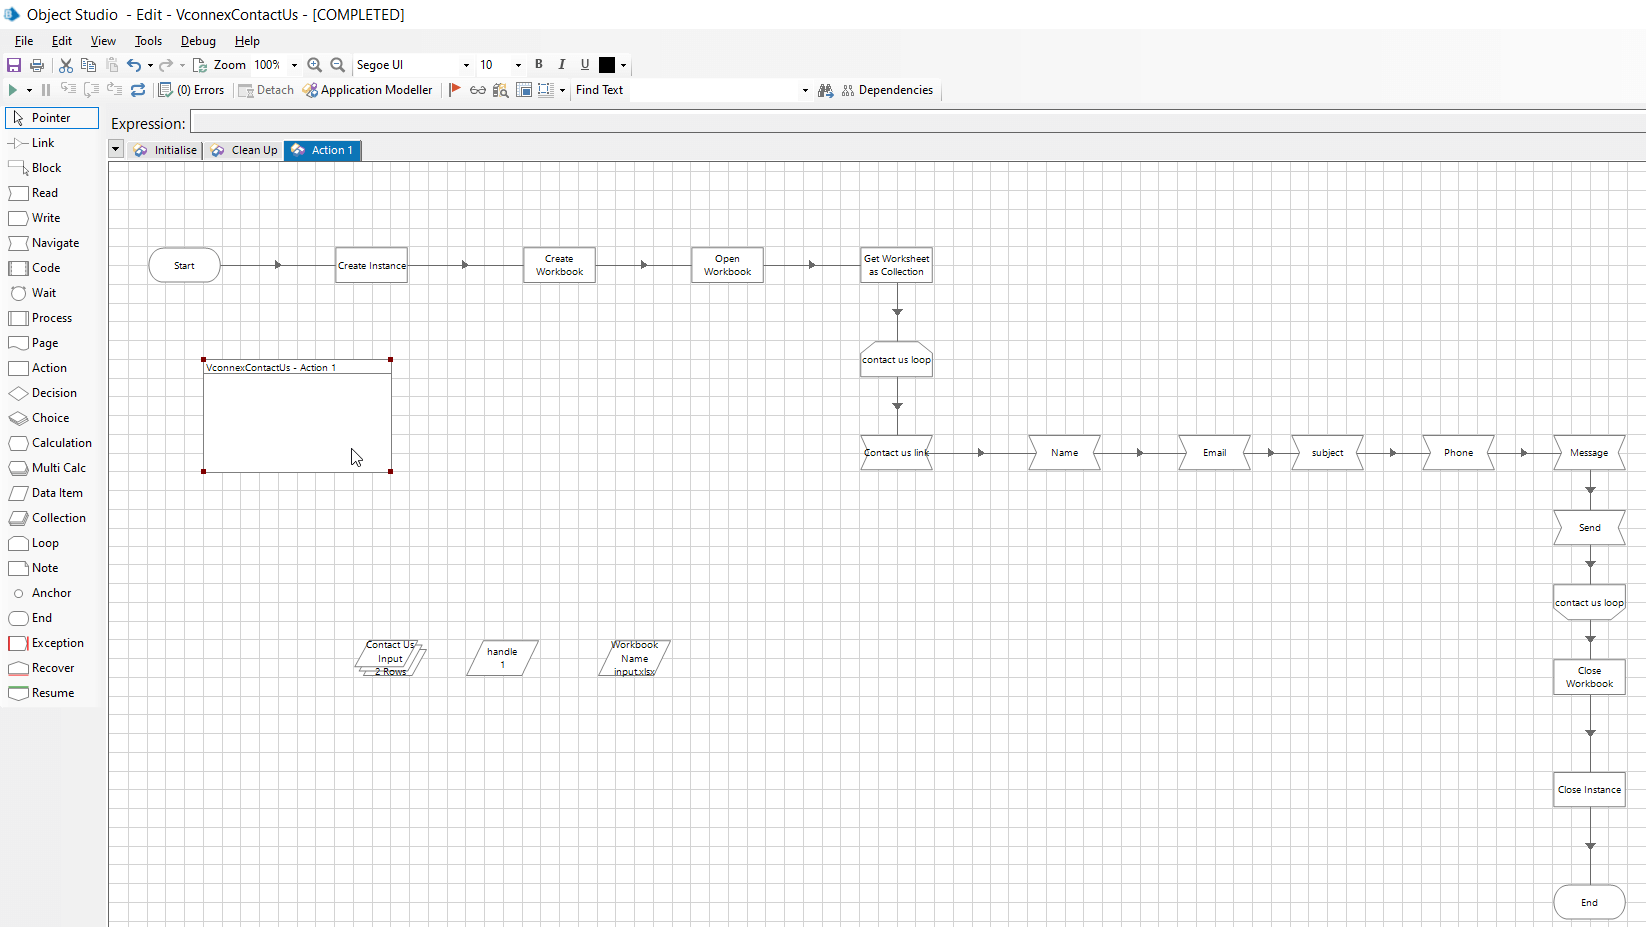
The complete source code is available in github.
Continue Learning!

